Dockerizing a React.js Application!💻🌟

If you are a Software Developer, then there’s no way you haven’t used Docker Desktop yet or at least heard about it. The following article summarizes the use cases of Docker, describes its basics and demonstrates the dockerization of a React.js application.
What is Docker?👩💻
Docker is a software platform that allows users to build, test, and deploy applications quickly. Docker packages software into standardized units called containers. As the name suggests, containers contain everything the software needs to run including libraries, system tools, code, and runtime environment.
With adequate knowledge of Docker, you can quickly deploy and scale applications into any environment with the surety that your code will run.
For instance, docker can be used to deploy your React.js web applications into containers. These containers wrap up your code, along with all its dependencies, and allows it to run in any environment.
Before we get started with the dockerization of our React.js application, let us understand a few of the basic terms associated with Docker:
- Images: A Docker image is a file used to execute code in a Docker container. Images act as a set of instructions to build a Docker container, like a template. Docker images act as the starting point when using Docker. Images are immutable.
- Containers: Containers are running instances of an image. A docker container contains everything that your application needs to run and can run your application in any environment.
- Compose: Compose is a docker tool for creating containerized applications. It can be used to write configurations that determine how your containers will run.
- Dockerfile: A dockerfile is a set of instructions that defines how an image is supposed to be built. The successful execution of each of these steps in order leads to the generation of a Docker image.
- Dockerignore: The .dockerignore file contains details of all files and directories that Docker needs to ignore during the build process.
- Docker Hub: Docker Hub is a registry service on the cloud that allows users and partners to create, test, store and distribute container images. With Docker Hub, you can host your images and pull other images and work with them.
Prerequisites 💥
Downloading Docker🔰
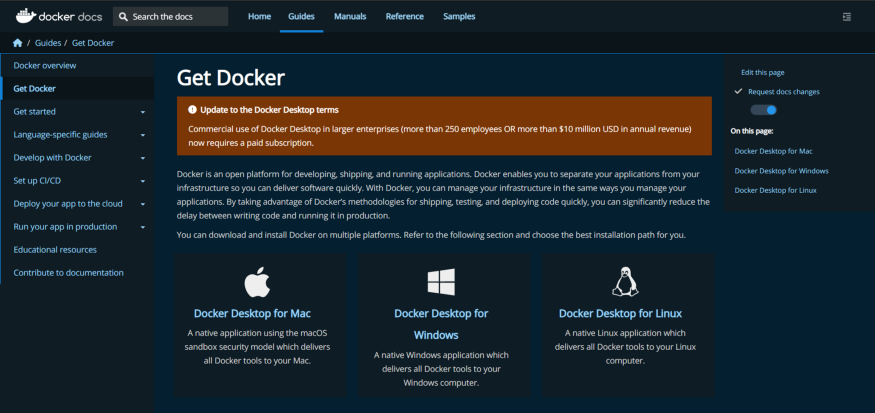
The first and foremost prerequisite is to have Docker installed on your computer. To download and install Docker on your machine, you need to navigate over to the official Docker Website and download the version compatible with your operating system.
Run the following command to check if docker has been successfully installed on your device:
docker -v
Standard React.js Application💖
Since the article revolves around dockerizing a React.js application, we will require a standard web application built on React, to begin with. In addition, the application must maintain a standard directory structure.
Dockerizing React.js Application🐳
First, we need to create a Dockerfile in the root directory of our React.js application. Our Dockerfile will contain a set of instructions, that will direct how our image will be built. Following is a step-by-step guide on how to create the Dockerfile for our web application:
Including the Node Image🍃
FROM node:latest
The FROM keyword will instruct our image to include the latest node image in our React.js application from Docker Hub.
The Working Directory📁
WORKDIR /app
The WORKDIR keyword is used to add the source code of our application to the image. This command will create a directory called app in our image and incorporate our source code into it.
The package.json file🗎
COPY package.json ./
The package.json file contains the necessary metadata about a project. The file defines functional attributes that npm uses to install dependencies, run scripts, identify the entry point to our package, etc. The COPY keyword copies the content of the package.json file to the image.
The RUN Command🏃
RUN npm install
The “npm install” command installs all dependencies in our project's local “node_modules” folder. RUN npm install will install any dependency we might have installed locally, into our image.
Copying the Source Code✅
COPY . .
This instruction copies all the files in the local directory of our application to the /app directory that we previously created in our image.
Command to Start the Application🏁
CMD ["npm", "start"]
The CMD keyword instructs the image to start the application after every step has been completed successfully.
The Final Dockerfile🐋
If you’ve followed the above-mentioned steps carefully, your Dockerfile should look something like this:
FROM node:latest
WORKDIR /app
COPY package.json ./
RUN npm install
COPY . .
CMD ["npm", "start"]
Creating the .dockerignore file👻
Now that we have finally set up our Dockerfile to help us build our image, we can move on to the next step.
As discussed previously, the .dockerignore contains all the files that are not supposed to be pushed to the image. For instance, we do not want the “node_modules” folder to be pushed into our image because it contains all the dependencies of the project.
To mend this, we will create a .dockerignore file in the root directory. Henceforth, we will include all the files in it that are of no use to our Docker image.
node_modules
Dockerfile
.git
Building Docker Image🖼️
Having finished the basics of dockerizing a React.js application, we can now jump on to the easy part. Now, we will use the build command to build our Docker image from the Dockerfile.
docker build -t nameofyourapp:latest .
The “-t” flag tells Docker to allocate a virtual terminal session within the container.
Running Docker Container🚢
The Docker run command first creates a writeable container layer over the specified image and then starts it using the specified command. To run the Docker container, run the following command:
docker run --name nameofyourchoice -d -p 3000:3000 nameofyourapp:latest
The “-d” flag runs the container in detached mode. When the terminal session is closed, the container still keeps running.
The “-p” flag publishes whatever is running in your container to the specified port.
Once your container is up and running, a container id will appear as follows:
6t1143e1e2ff97997glal071aff4e558cfda4b55a4d7efb5001565832887af24
Run the following command to check if the docker image is successfully running:
docker images
The final step is to open the browser and confirm whether our application is running or not on the previously specified port. Open up localhost:3000 on the browser and hopefully, your React.js application will be running perfectly!
Conclusion✨
In this article, we have learned how to dockerize a React.js application. Further, we have dived into various concepts of Docker to give the readers a general idea of what Docker is and how to implement its functionalities.